Stacklight
Toy | Intro to Physical Computing ClassRole: concept development, research, prototyping, user testing, physical computing, electronics Showed at ITP Winter Show, NYU, December 2015
How can we teach electronics to 3 year old kids in the appealing hands-on way?
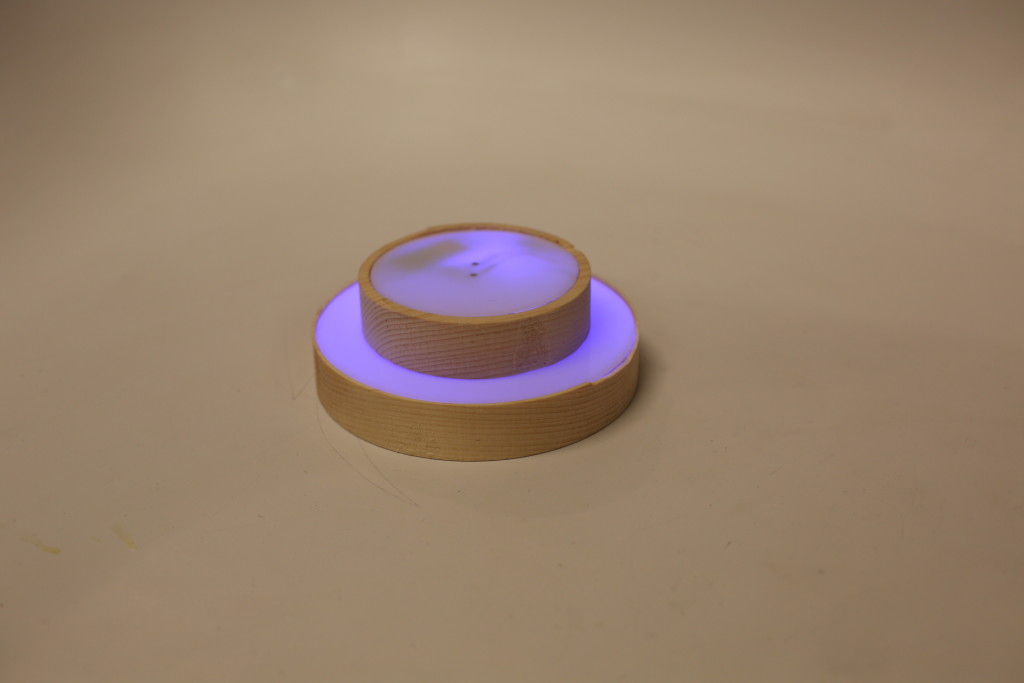
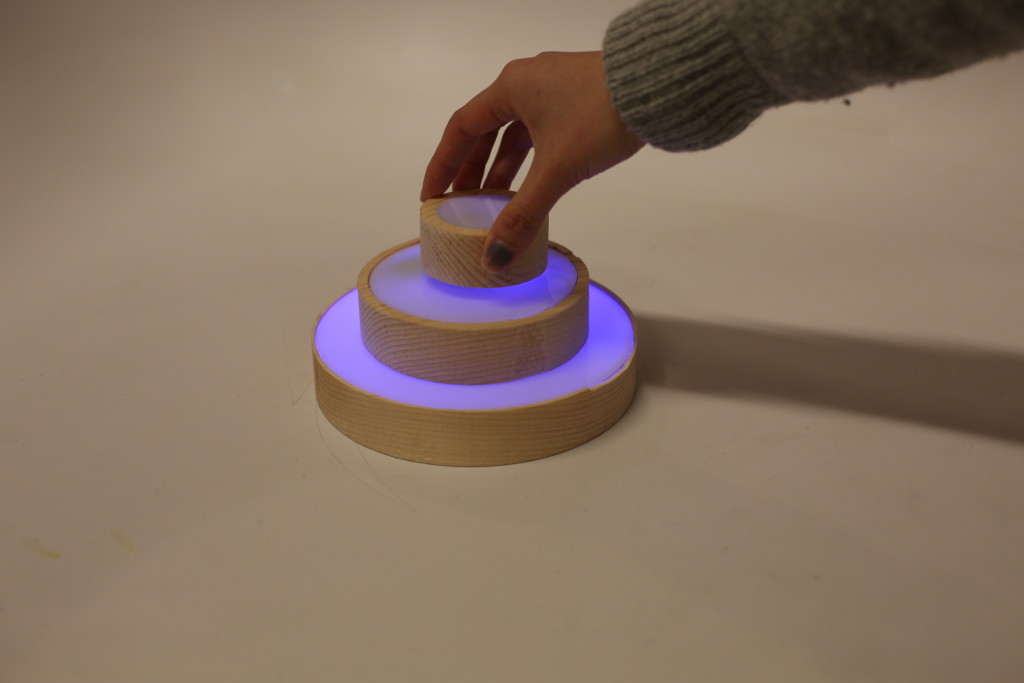
Stacklight is an educational toy for 3-4 year old kids to introduce them to the concepts of electronics through stacking.
The toy was designed as a final project for Physical Computing class together with Shir David and Xiwei Huang.
The toy was designed as a final project for Physical Computing class together with Shir David and Xiwei Huang.
Research
While doing market research, we noticed that most of the toys were aimed towards 8 year old kids and older and there was not a lot of variety for really small ones. That's how we settled on a younger age.The problem with that was that we could not teach electronics to a 3 year old the same way as we could teach a 8 year old (explaining about different components, etc.).
Going deeper into research, all the education material said that at the age of 3 kids start recognizing patterns among objects and putting them together. They start organizing objects based on the size, shape and color.
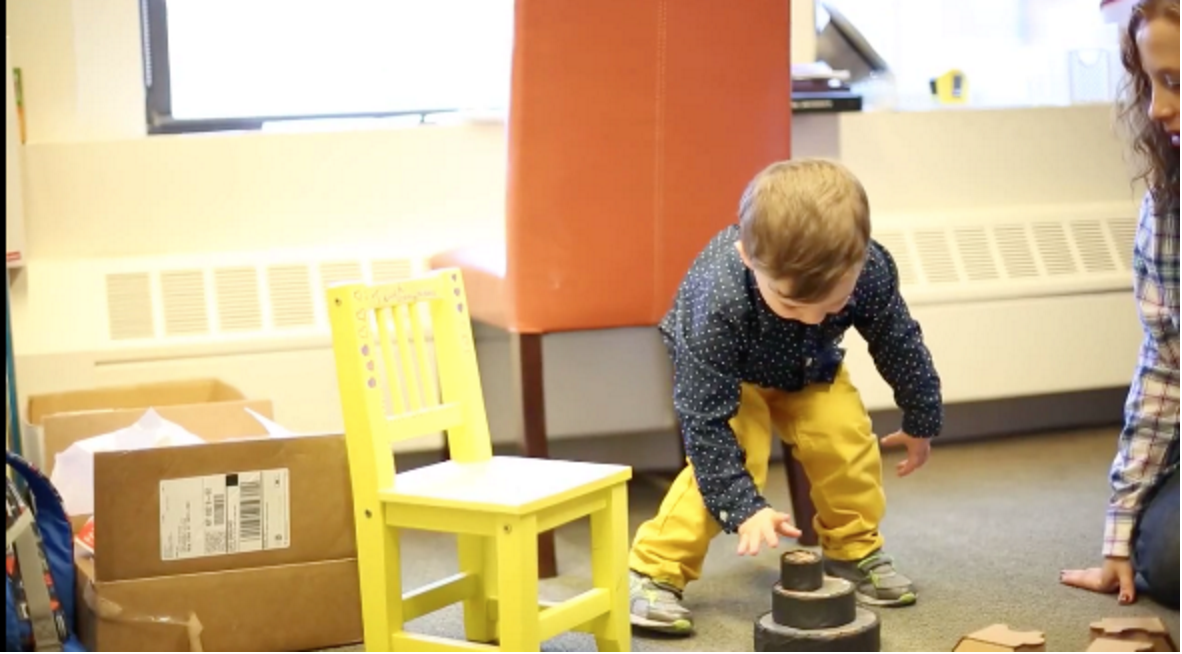
Playtesting
We organized series of playtesting to figure out which shapes and what ways of stacking kids enjoy more.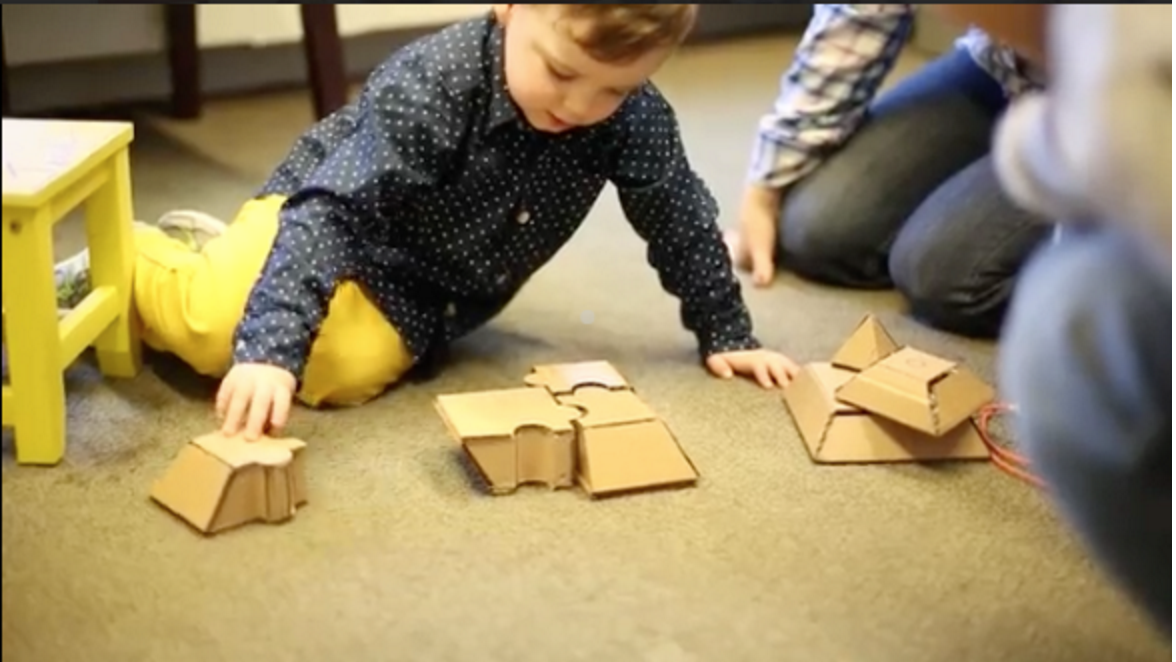
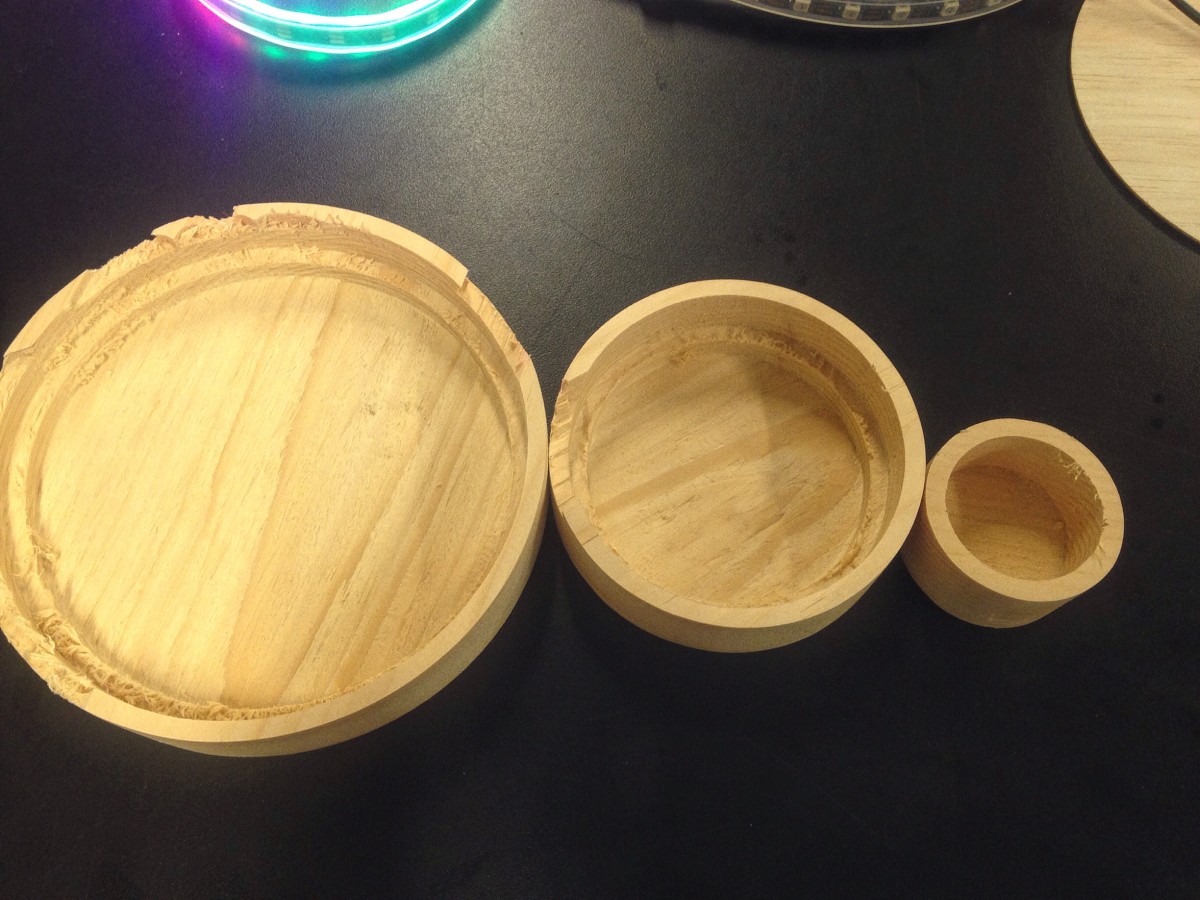
Prototyping fabrication
After we figured out that we should move forward with round shapes and stacking pieces on top of each other we started prototyping.


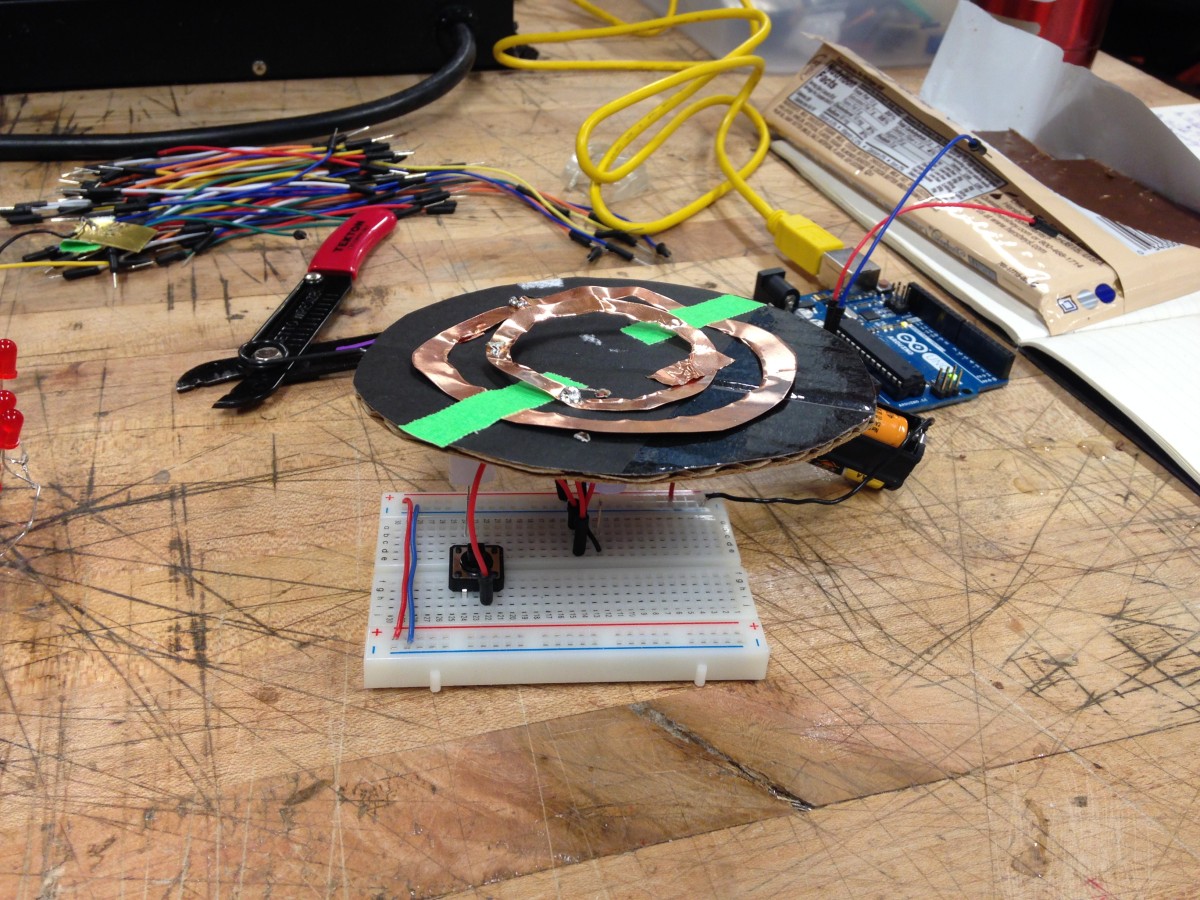
Prototyping circuits
How it should work? We wanted each of the toy blocks to have an electronic component that when blocks are stacked together, electronic circuit closes and we see a light come up.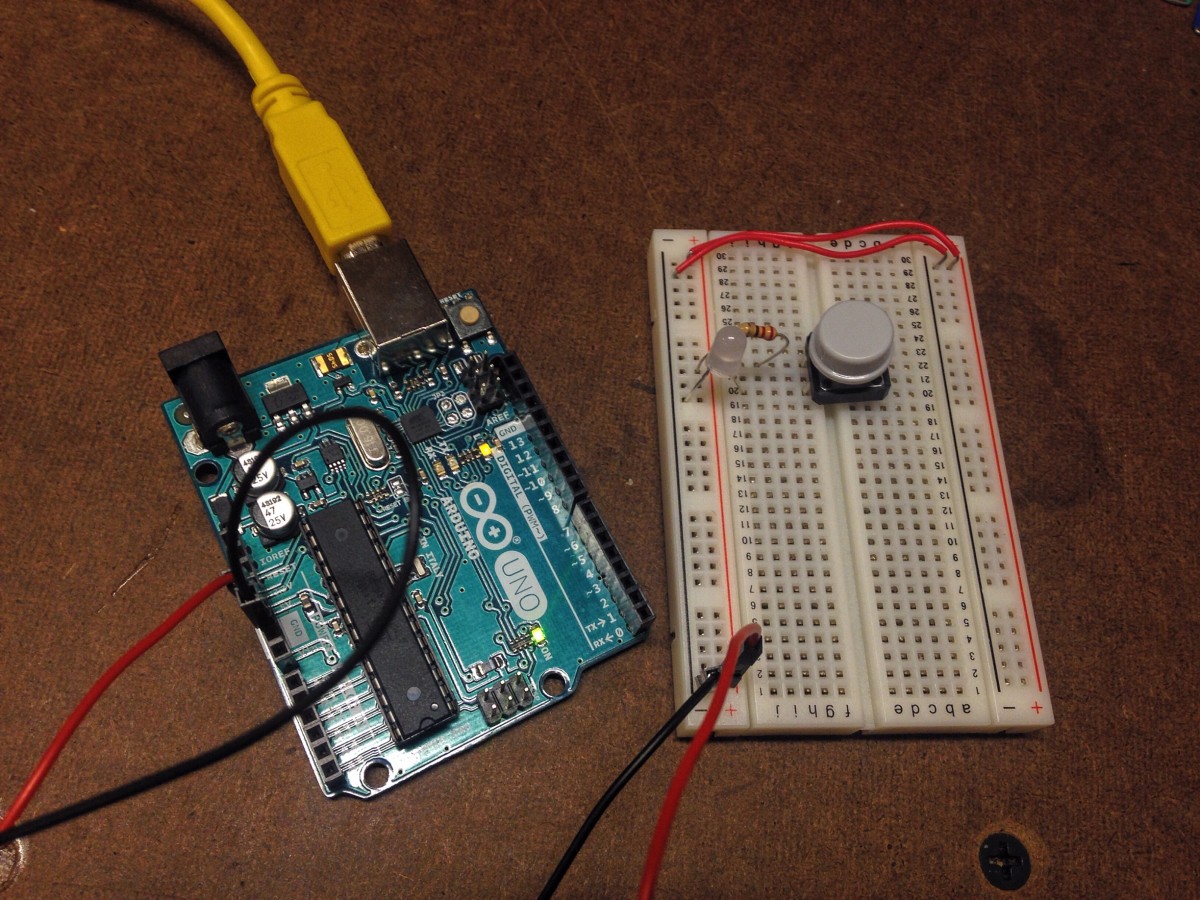


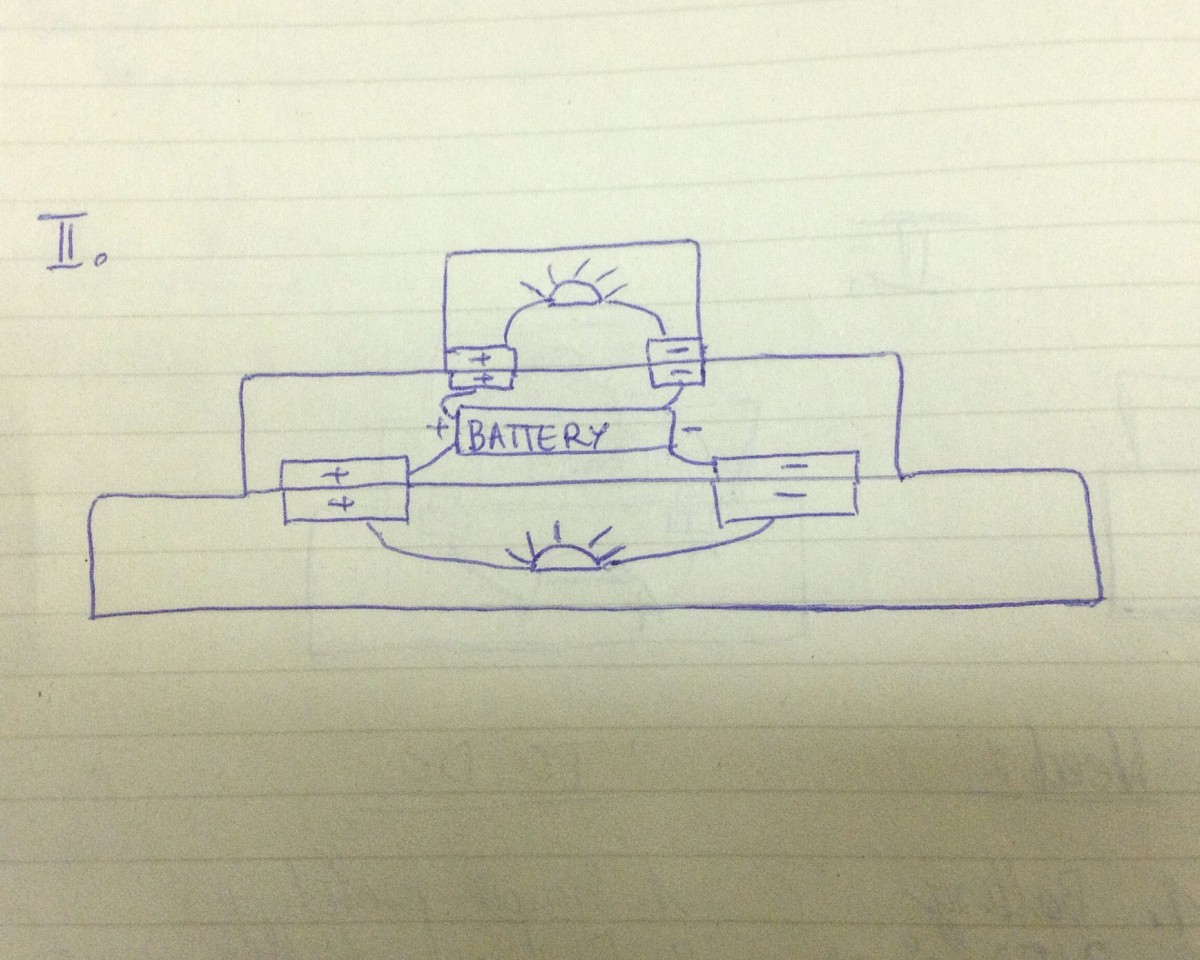
Final circuit
After trying a few different ways, we realized that programming Arduino will be too complicated and will make the toy too heavy for kids to play with. We decided to move forward with simple components: LEDs, resistors, 3V battery, breadboard, wires and disk magnets to make connections between different toy pieces. The circuit would look something like this:

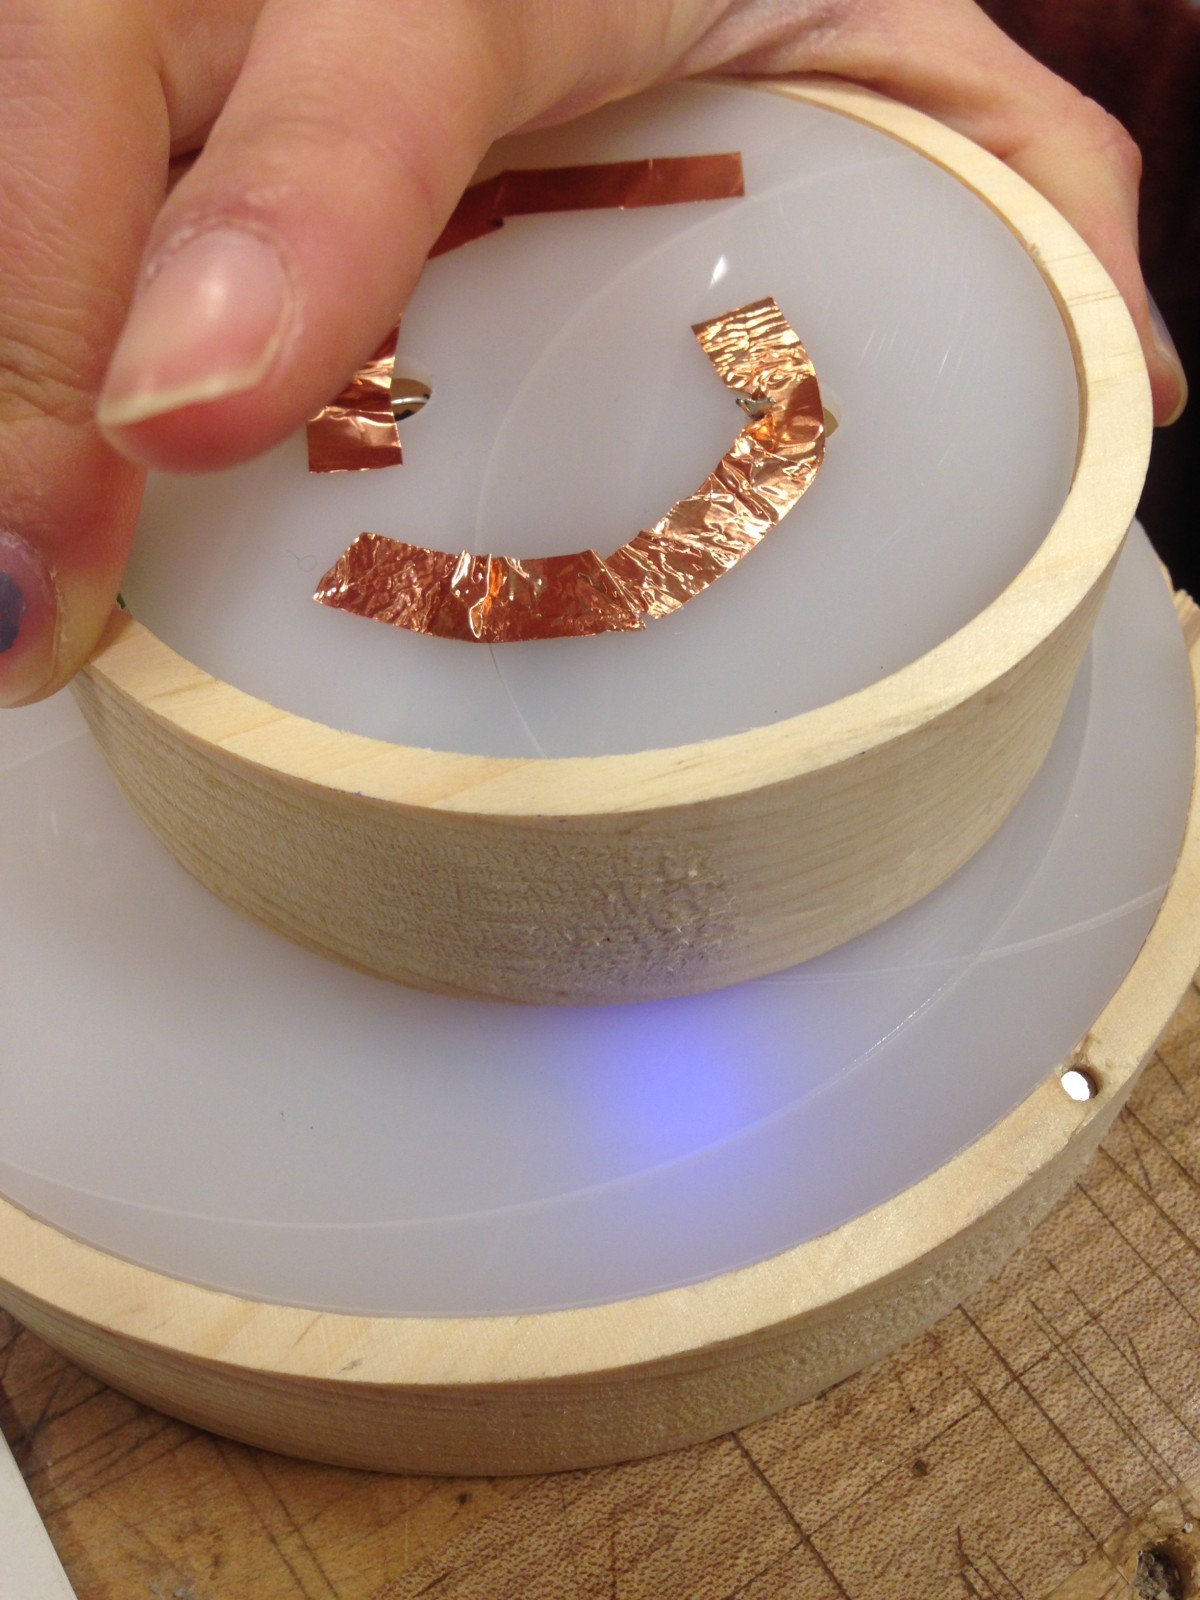

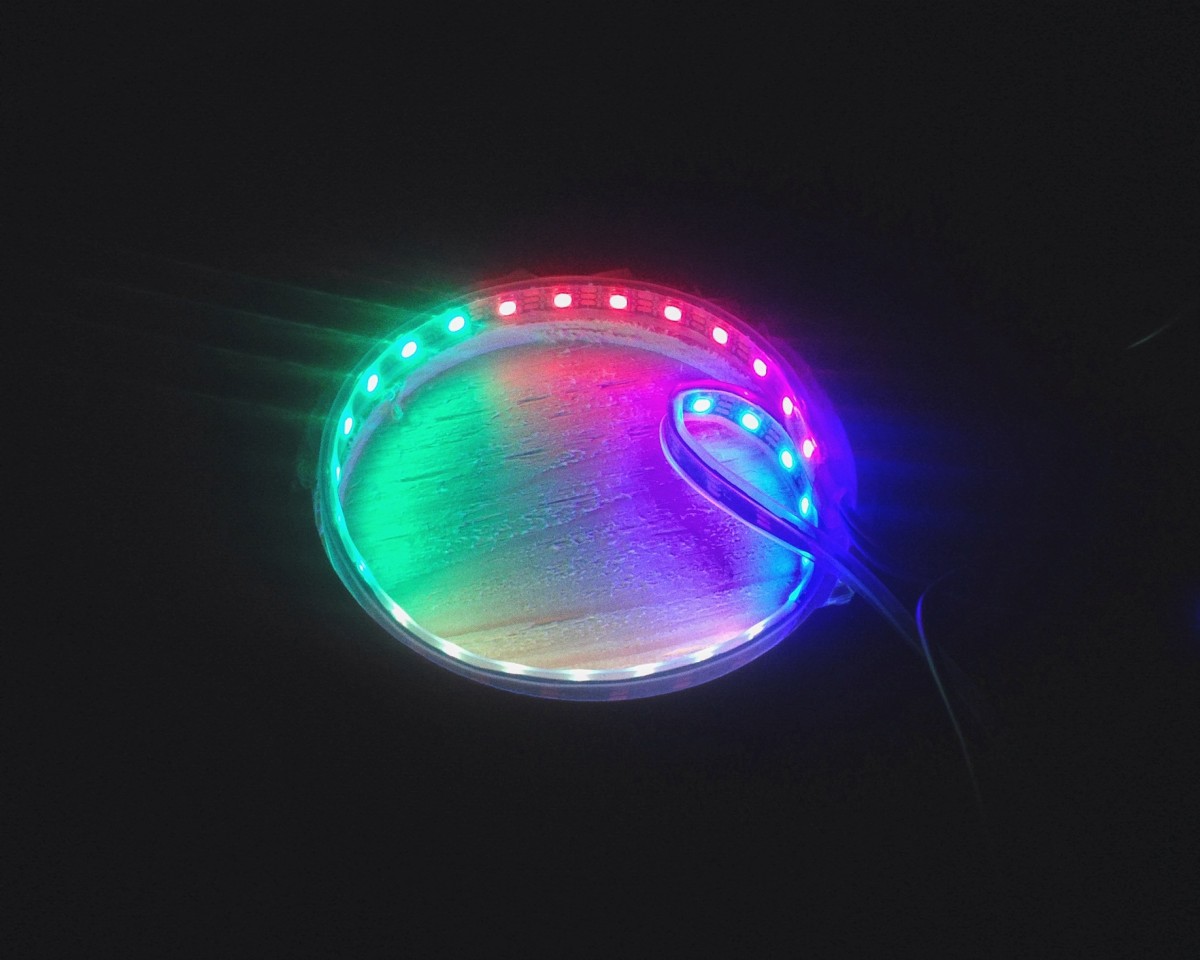
Final piece, materials used:
- Wooden blocks: pine wood (blocks were cut using CNC)
- Top: acrylic (acrylic was cut using laser cutter)
- Inside: LED, resistors, 3V battery, breadboard, wires
- Connections: disk magnets